
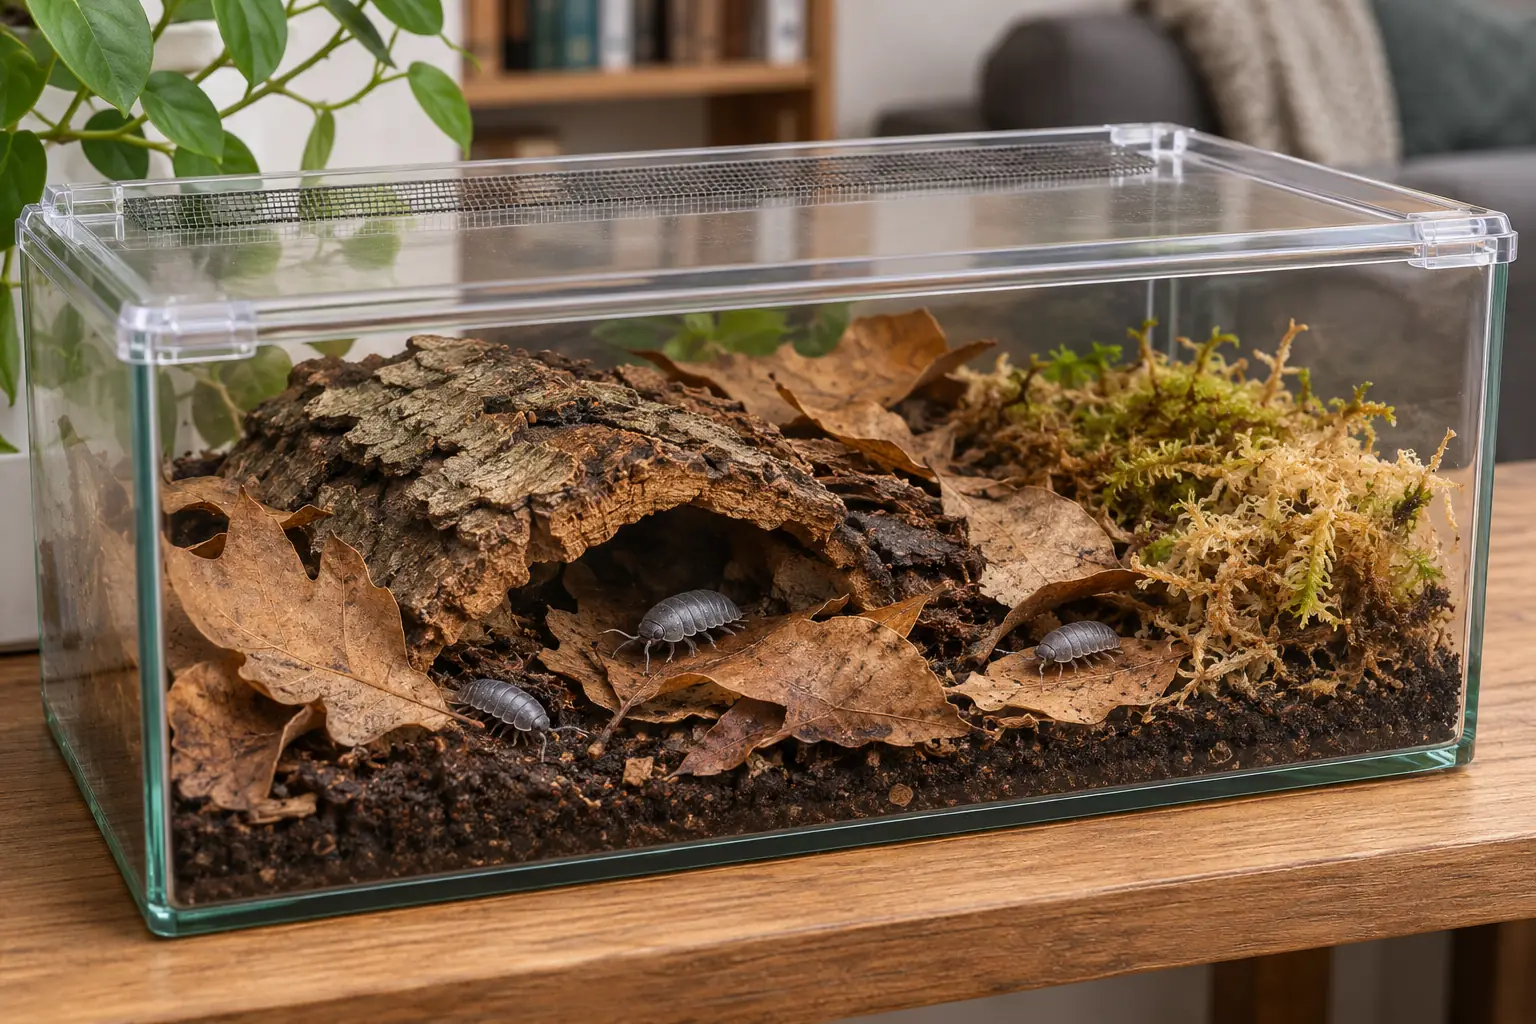
Do isopods need heat? Many commonly kept terrestrial isopods need no extra heater when their enclosure stays within suitable conditions for the species. Ordinary indirect room light is usually enough for an isopod-only colony. Before adding equipment, identify the animals and measure the temperature where they live, including cooler and warmer parts of the day.
A shelf can look like a miniature pet shop once you start adding gadgets. Each one should solve a real problem. For isopods, the first useful question is whether the home you already provide needs warming, cooling, or simply a better spot in the room.
Start With the Species and the Room
Room temperature is a useful starting description, but it is not a measurement. A heated living room, a spare bedroom overnight, and a basement shelf can offer quite different conditions.
For a concrete example, Carolina Biological Supply includes Porcellio scaber among the animals covered by its terrestrial-isopod guide. It recommends 68–72°F (20–22°C) for the cultures it describes. That is a classroom husbandry recommendation, not a complete account of the species’ limits or a target for every isopod sold as a pet.
Broader care sheets use broader ranges. Zoo Med describes most commonly kept isopods as comfortable at 68–78°F, while Portland Insectarium gives 65–80°F in its general guide. Do not combine those numbers into one guaranteed safe range. Start with guidance for the exact species and ask the breeder what conditions the colony has been kept in.
If your measured conditions already fit that guidance, extra heat may add nothing useful. Smug Bug’s care booklet notes that many isopods need no separate heat source and warns that overheating, especially without a cooler retreat, can cause colony losses.
Measure Before You Change Anything
Use a suitable thermometer at the enclosure, following its instructions. The number on your household thermostat describes its own location and setting; it does not tell you what happens inside a container across the room.
Check during the cooler overnight or early-morning period and again when the room is warmer. A thermometer that records minimum and maximum readings can help reveal changes you would miss with a single glance. Record where you measured, so later readings mean something.
Recheck when the weather changes, household heating starts, or you move the colony. If you add a lamp for plants or viewing, compare conditions with it on and off. Avoid placing the enclosure in direct sunlight: Zoo Med specifically warns that sunlight can overheat a terrarium.
| What the checks show | What to consider next |
|---|---|
| Conditions fit the species’ care guidance | Keep the arrangement and monitor it. A heater is not a required accessory just because the enclosure holds animals. |
| The enclosure is repeatedly too cool | Compare a more suitable indoor location first. If that does not solve it, investigate controlled heating compatible with the enclosure. |
| The enclosure gets too warm | Identify sunlight, nearby heat sources or lighting that may be contributing. Adding a heater will not solve this problem. |
The goal is to understand a pattern, not to chase each small change on the display. If conditions fall outside your species’ guidance, ask an experienced keeper about that species and share your actual readings.
Check the Exact Heat Mat Before Buying
An isopod heat mat must suit both the animal’s needs and the enclosure. The words reptile heater do not mean a product can be attached to any plastic tub, glass tank, or shelf.
Zoo Med’s ReptiTherm instructions provide a useful example. The RH-4, RH-5 and RH-6 models are intended for standard glass terrariums. The manual makes a separate exception for the RH-7 Mini on certain plastic keeper enclosures, with back or side placement. That exception is not permission to use every mat on every plastic container.
Read the current instructions for the exact model and confirm that the enclosure itself permits that use. Check mounting, clearances, substrate restrictions and water precautions. If your setup does not fit the instructions, ask the manufacturer or choose another approach; do not improvise a workaround.
The 2016 Flinn Scientific classroom guide mentions using a clamped light when conditions are cold, with a warning about excess heat. That brief suggestion is not a complete heating plan for a small pet colony. A lamp choice still needs suitable housing, control and temperature checks.
Control Heat and Check It Independently
A thermometer reports temperature. A thermostat uses a sensor to control a connected heater. They have different jobs, and a thermostat’s programmed setting is not proof that every part of the enclosure has reached that temperature.
If supplemental heat is needed, choose a compatible thermostat-controlled arrangement with guidance for your species. Follow both devices’ instructions. Zoo Med’s ReptiTemp manual, for example, explains that sensor location affects the result and that the controller measures where its sensor sits.
- Confirm that the controller supports the exact heater and its electrical load.
- Use the required mounting and sensor placement; keep the sensor secure.
- Check the heated area and a cooler retreat with a separate thermometer.
- Confirm the actual settings and any alarm function instead of relying on factory defaults.
- Check again after changing room conditions, moving equipment or performing maintenance.
Test a new heating arrangement in a fully prepared enclosure before placing a colony in it. For an established colony, get suitable guidance before changing the heating setup. More heat is not automatically better care, and there is no universal wattage or thermostat setting for all isopods.
Keep checking moisture when conditions change, too. Our isopod humidity guide explains how to inspect the damp refuge beneath its cover. A temperature adjustment should not leave the animals without usable moist shelter.
Do Isopods Need Light to Stay Healthy?
For the common pet colonies covered by these guides, special lighting is not a routine requirement. Portland Insectarium says no special lighting is needed, and Carolina recommends indirect light. That does not mean you must keep a colony in permanent darkness.
Keep shaded places beneath leaves and bark available. For a look at the animals, try observing in dim room light instead of flooding the enclosure with brightness or repeatedly removing every hide. Carolina notes that its isopods avoid bright light and are easier to observe in a dim setting.
If the enclosure contains live plants, their lighting needs are a separate decision. Choose lighting for those plants, retain the isopods’ sheltered areas, and check whether the equipment changes enclosure temperature. A display light is not a substitute for a controlled heating plan.
You do not need to turn a leaf-litter colony into a tiny reptile basking setup. Give each piece of equipment a clear job. When the measured conditions already suit the animals, a comfortable shelf and a watchful keeper can be enough.
Until next time.

Browse more guides in our Isopods category.
Sources and Further Reading
- Carolina Biological Supply — Terrestrial Isopods Care Guide
- Portland Insectarium — Isopods
- Zoo Med — Isopod Education
- Laura Mae Riepl / Smug Bug — Isopods: Basics of Care
- Zoo Med — ReptiTherm Heater Instructions
- Zoo Med — ReptiTemp Digital Thermostat Instructions
- Flinn Scientific — Isopod Care Guide